Quarto (>= 1.7) supports computing light and dark mode images natively using the renderings option, see https://quarto.org/docs/computations/execution-options.html#cell-renderings and https://quarto.org/docs/output-formats/html-themes.html#mode-specific-content for more details.
A new blog post of the “Quarto Q&A” series.
This time, I will show how to have images both for light and dark theme, when switching between them.
1 The Question/Problem
When you build a website with Quarto, you can use the theme option to specify the theme you want to use for light and dark mode1.
theme:
  light: united
  dark: slate
However, if you want to have images for both themes, you need to have two versions of the same image, one for light and one for dark mode. But how can you do that and how can you switch between them automatically?
2 The Answer/Solution
Let’s use knitr2 as the engine to generate the images. For example, you can use svglite to generate SVG images and/or any custom knitr handler.
Set the
devoption to usesvgliteforlightmode anddarksvglitefordarkmode andfig.extto set the generated images extensions.knitr: opts_chunk: dev: [svglite, darksvglite] fig.ext: [.light.svg, .dark.svg]Create
ggplot2themes forlightanddarkimages.theme_light <- function() { theme_minimal(base_size = 11) %+% theme( panel.border = element_blank(), panel.grid.major.y = element_blank(), panel.grid.minor.y = element_blank(), panel.grid.major.x = element_blank(), panel.grid.minor.x = element_blank(), text = element_text(colour = "black"), axis.text = element_text(colour = "black"), rect = element_rect(colour = "white", fill = "black"), plot.background = element_rect(fill = "white", colour = NA), axis.line = element_line(colour = "black"), axis.ticks = element_line(colour = "black") ) }theme_dark <- function() { theme_minimal(base_size = 11) %+% theme( panel.border = element_blank(), panel.grid.major.y = element_blank(), panel.grid.minor.y = element_blank(), panel.grid.major.x = element_blank(), panel.grid.minor.x = element_blank(), text = element_text(colour = "white"), axis.text = element_text(colour = "white"), rect = element_rect(colour = "#272b30", fill = "#272b30"), plot.background = element_rect(fill = "#272b30", colour = NA), axis.line = element_line(colour = "white"), axis.ticks = element_line(colour = "white") ) }Create a new function to save the
darkimages.darksvglite <- function(file, width, height) { on.exit(reset_theme_settings()) theme_set(theme_dark()) ggsave( filename = file, width = width, height = height, dev = "svg", bg = "transparent" ) }The
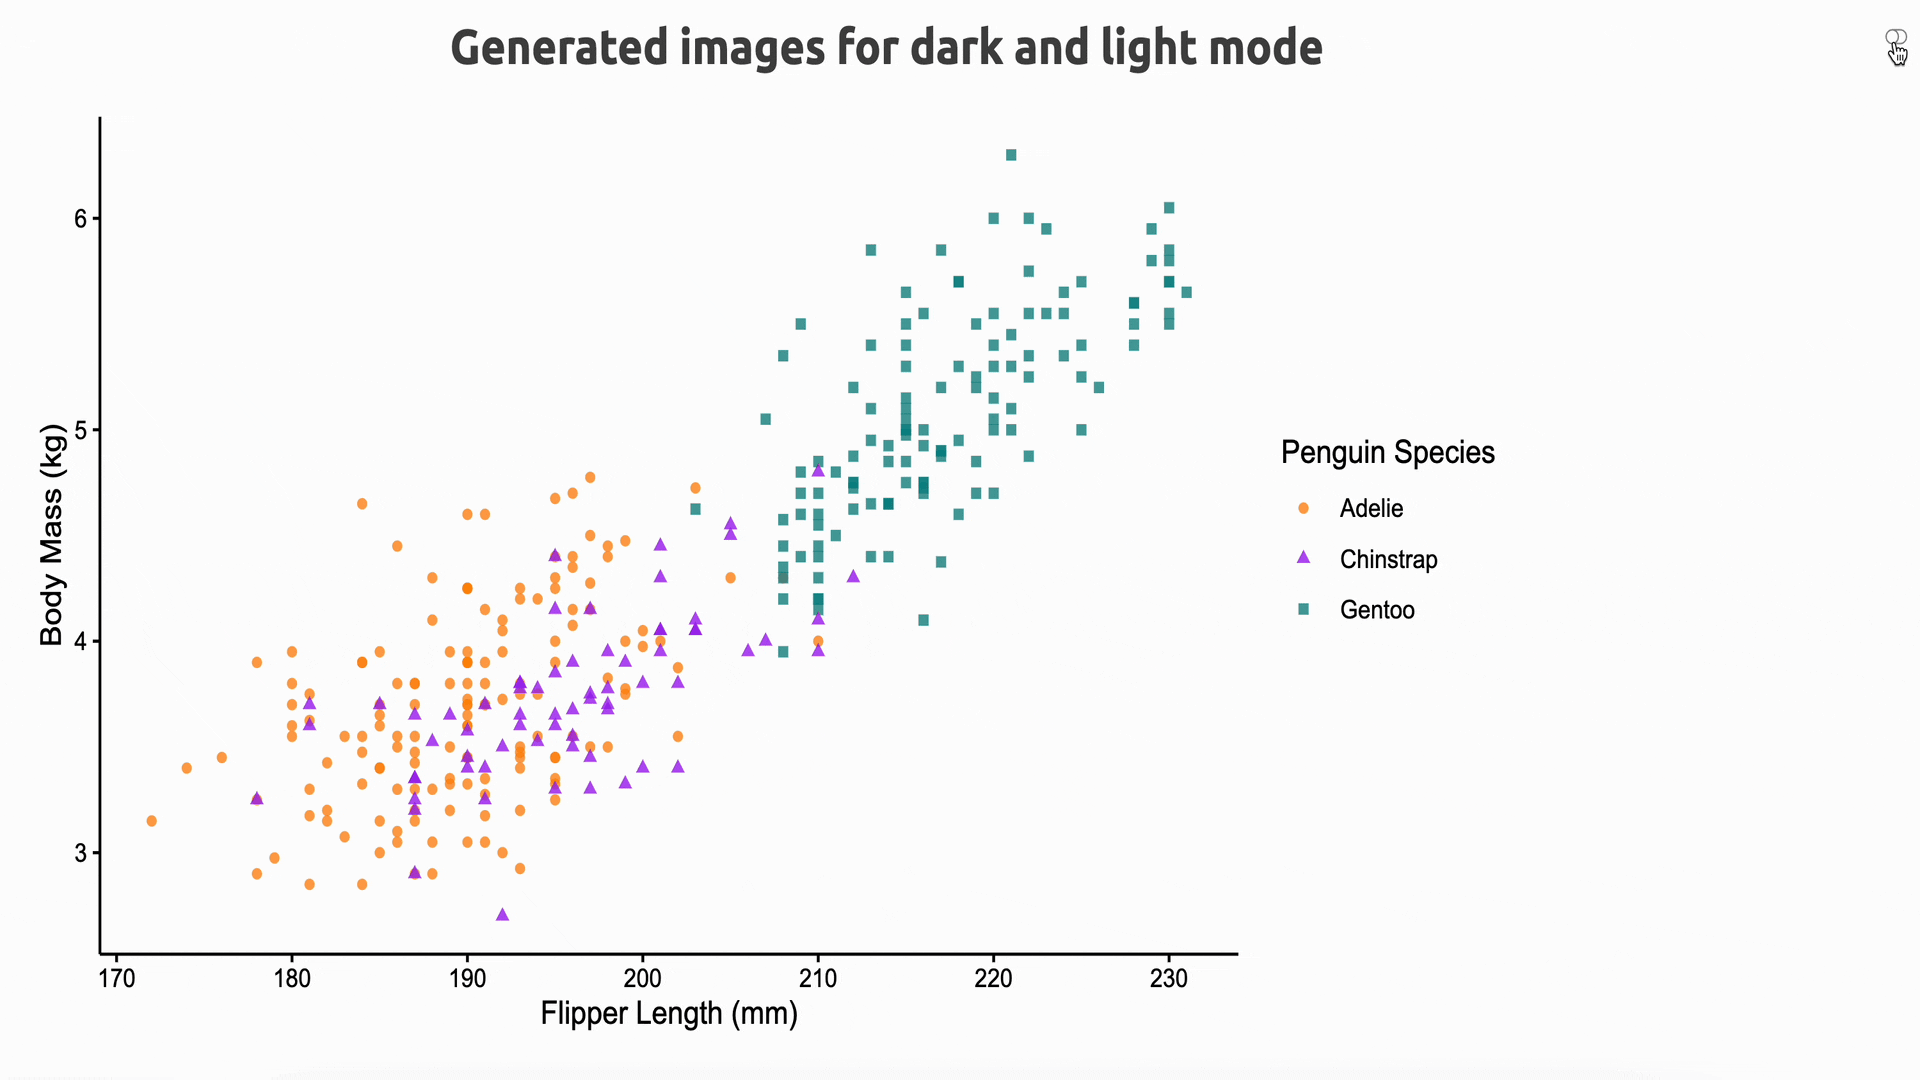
ggplot2code to build an image.library(ggplot2) library(palmerpenguins) theme_set(theme_light()) ggplot(data = penguins) + aes( x = flipper_length_mm, y = body_mass_g / 1e3, colour = species, shape = species ) + geom_point(alpha = 0.8, na.rm = TRUE) + scale_colour_manual(values = c("darkorange", "purple", "cyan4")) + labs( x = "Flipper Length (mm)", y = "Body Mass (kg)", color = "Penguin Species", shape = "Penguin Species" )The JavaScript code to switch between the two images (i.e.,
.light.svgand.dark.svg)3.JavaScript code
// Author: Mickaël Canouil
// Version: <1.0.0>
// Description: Change image src depending on body class (quarto-light or quarto-dark)
// License: MIT
function updateImageSrc() {
  var bodyClass = window.document.body.classList;
  var images = window.document.getElementsByTagName('img');
  for (var i = 0; i < images.length; i++) {
    var image = images[i];
    var src = image.src;
    var newSrc = src;
    if (bodyClass.contains('quarto-light') && src.includes('.dark')) {
      newSrc = src.replace('.dark', '.light');
    } else if (bodyClass.contains('quarto-dark') && src.includes('.light')) {
      newSrc = src.replace('.light', '.dark');
    }
    if (newSrc !== src) {
      image.src = newSrc;
    }
  }
}

var observer = new MutationObserver(function(mutations) {
  mutations.forEach(function(mutation) {
    if (mutation.type === 'attributes' && mutation.attributeName === 'class') {
      updateImageSrc();
    }
  });
});

observer.observe(window.document.body, {
  attributes: true
});

updateImageSrc();
Finally, the whole Quarto document code.
Quarto document code
---
title: "Generated images for dark and light mode"
format:
  html:
    theme:
      light: united
      dark: slate
execute:
  echo: false
  warning: false
knitr:
  opts_chunk:
    dev: [svglite, darksvglite]
    fig.ext: [.light.svg, .dark.svg]
include-after-body:
  text: |
    <script type="application/javascript" src="light-dark.js"></script>
---

```{r}
#| include: false
library(ggplot2)
theme_light <- function() {
  theme_minimal(base_size = 11) %+%
  theme(
    panel.border = element_blank(),
    panel.grid.major.y = element_blank(),
    panel.grid.minor.y = element_blank(),
    panel.grid.major.x = element_blank(),
    panel.grid.minor.x = element_blank(),
    text = element_text(colour = "black"),
    axis.text = element_text(colour = "black"),
    rect = element_rect(colour = "white", fill = "black"),
    plot.background = element_rect(fill = "white", colour = NA),
    axis.line = element_line(colour = "black"),
    axis.ticks = element_line(colour = "black")
  )
}

theme_dark <- function() {
  theme_minimal(base_size = 11) %+%
  theme(
    panel.border = element_blank(),
    panel.grid.major.y = element_blank(),
    panel.grid.minor.y = element_blank(),
    panel.grid.major.x = element_blank(),
    panel.grid.minor.x = element_blank(),
    text = element_text(colour = "white"),
    axis.text = element_text(colour = "white"),
    rect = element_rect(colour = "#272b30", fill = "#272b30"),
    plot.background = element_rect(fill = "#272b30", colour = NA),
    axis.line = element_line(colour = "white"),
    axis.ticks = element_line(colour = "white")
  )
}

darksvglite <- function(file, width, height) {
  on.exit(reset_theme_settings())
  theme_set(theme_dark())
  ggsave(
    filename = file,
    width = width,
    height = height,
    dev = "svg",
    bg = "transparent"
  )
}
```

```{r}
#| column: screen-inset
#| fig-width: !expr 16/2
#| fig-height: !expr 9/2
#| out-width: 80%
library(ggplot2)
library(palmerpenguins)
theme_set(theme_light())
ggplot(data = penguins) +
  aes(
    x = flipper_length_mm,
    y = body_mass_g / 1e3,
    colour = species,
    shape = species
  ) +
  geom_point(alpha = 0.8, na.rm = TRUE) +
  scale_colour_manual(values = c("darkorange", "purple", "cyan4")) +
  labs(
    x = "Flipper Length (mm)",
    y = "Body Mass (kg)",
    color = "Penguin Species",
    shape = "Penguin Species"
  )
```
Light mode ON 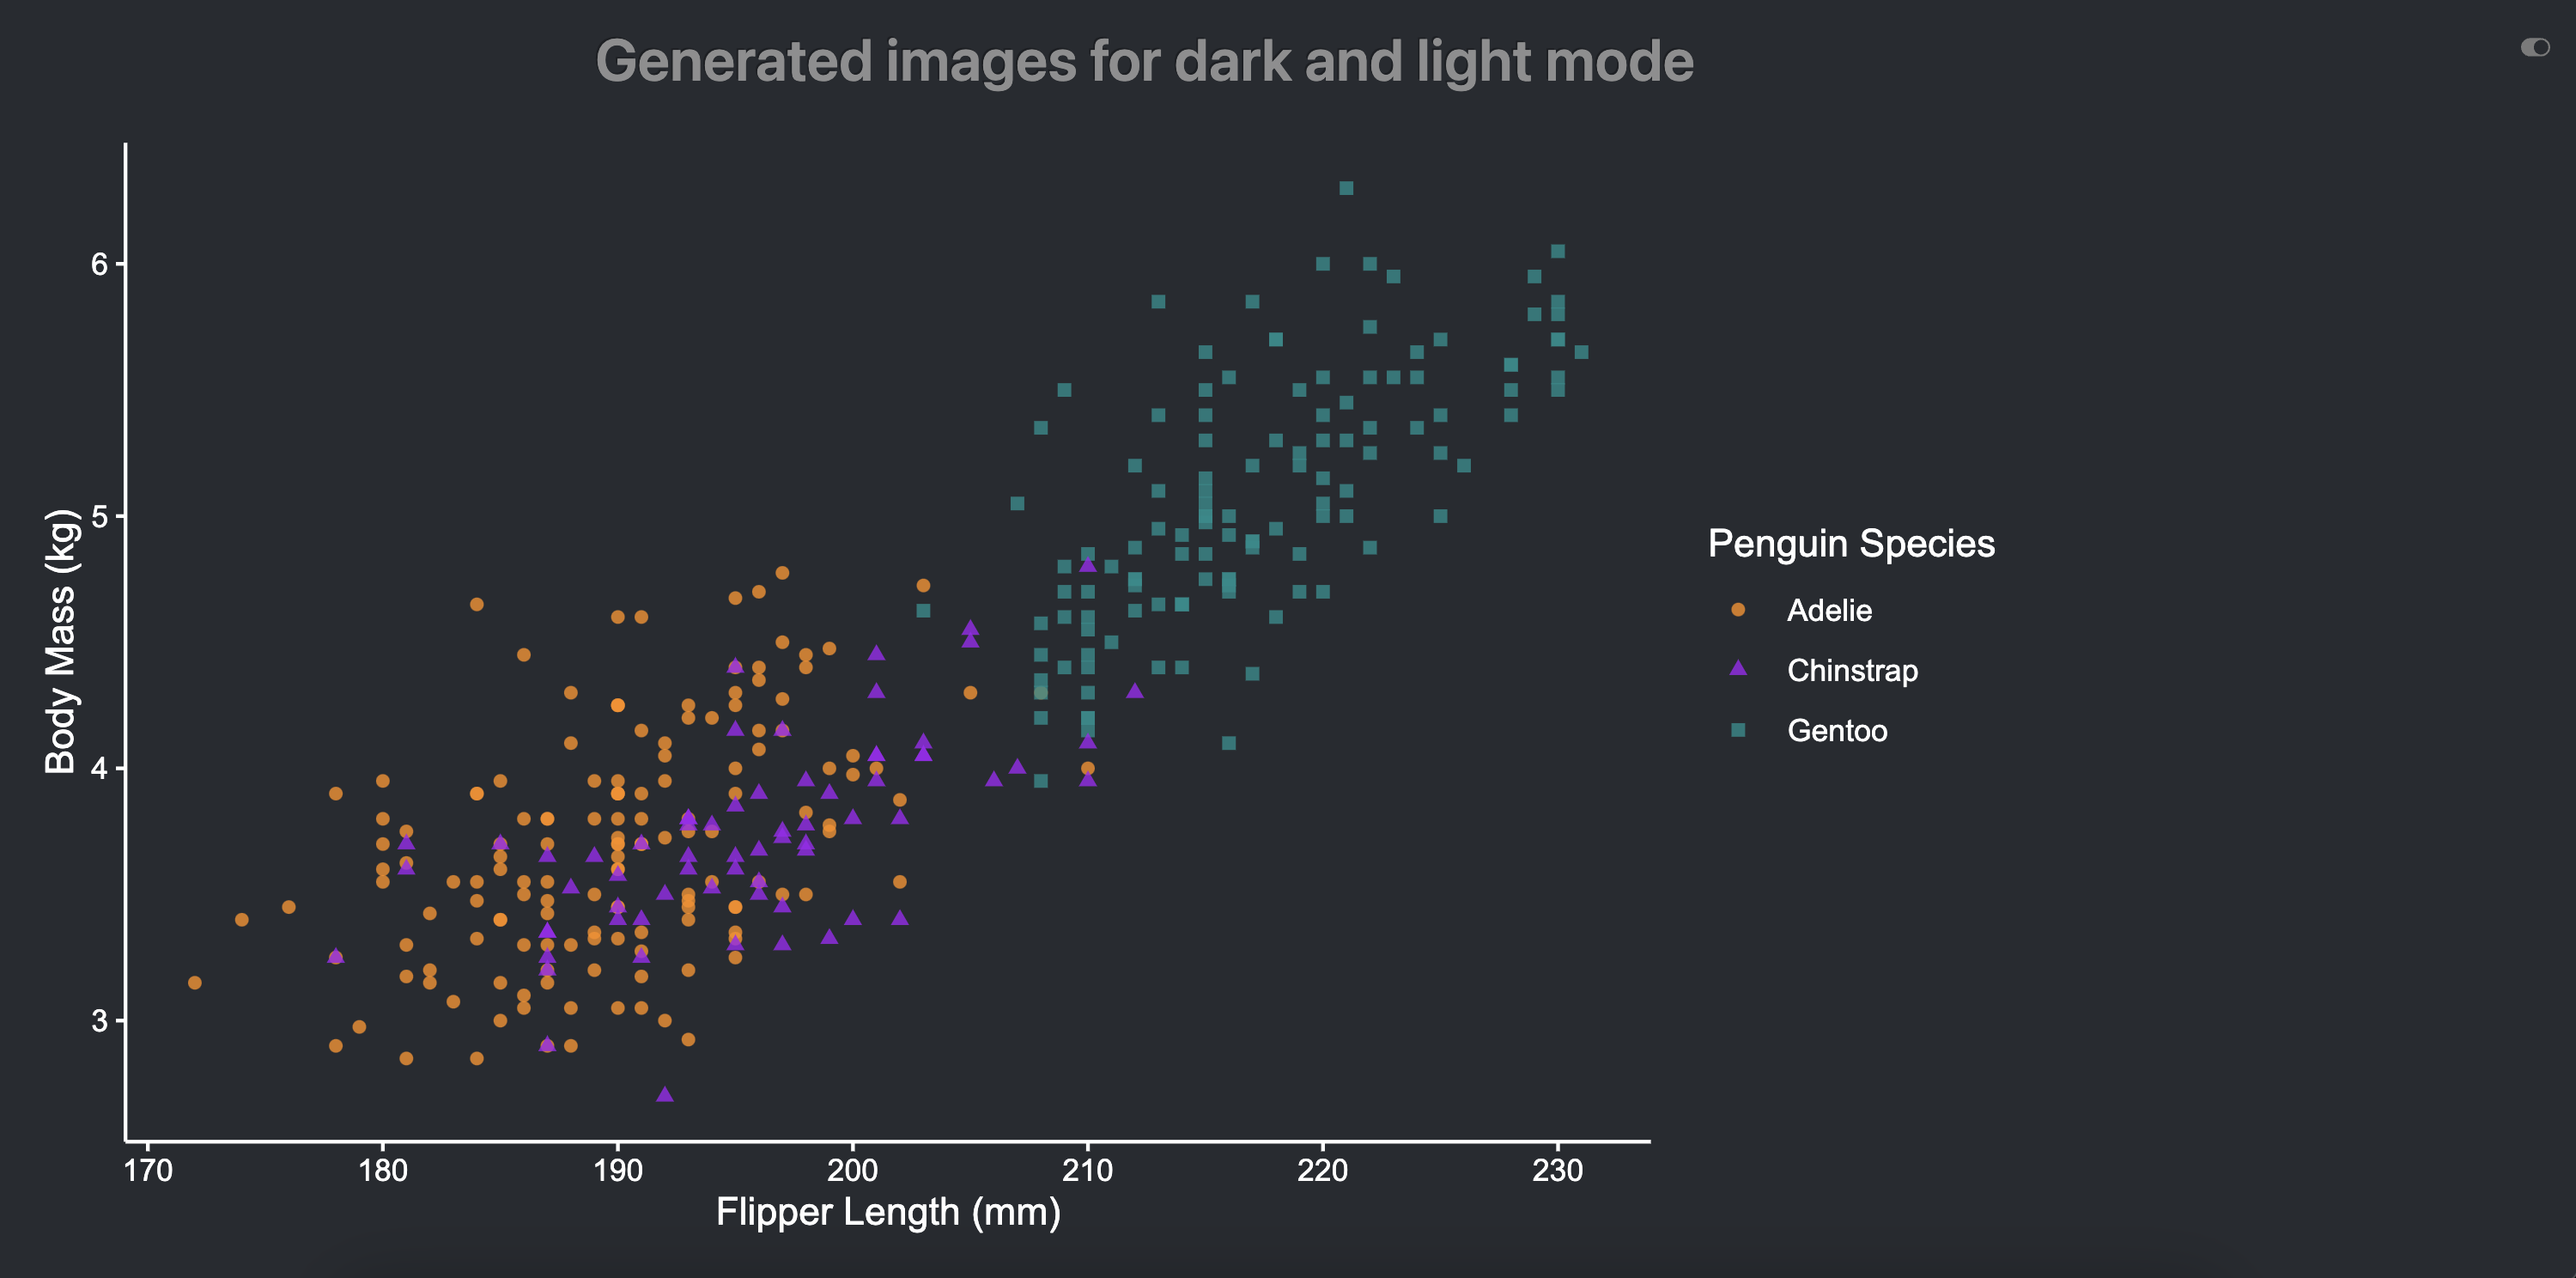
Dark mode ON
Footnotes
See https://quarto.org/docs/output-formats/html-themes.html#dark-mode.↩︎
What matters is that you have two different images, one for
lightand one fordarkmode, respectively with.lightand.darkin their names.↩︎The JavaScript code does not actually look for the images extensions, but for the images names.↩︎
Reuse
Citation
@misc{canouil2023,
  author = {CANOUIL, Mickaël},
  title = {Quarto {Q\&A:} {How} to Have Images for Both Light and Dark
    Theme?},
  date = {2023-05-30},
  url = {https://mickael.canouil.fr/posts/2023-05-30-quarto-light-dark/},
  langid = {en-GB}
}